Eaves Storage in a Loft Conversion: How to Use Sloped Ceilings Without Losing Headroom

There is a particular sort of space in a loft conversion that nobody quite knows what to do with: the wedge under the slope, behind the knee wall, where the ceiling meets the floor. Left alone it becomes a home for Christmas decorations and a lonely suitcase. Handled properly, it can absorb the better part of a household's storage without costing you a single centimetre of standing room.
Begin with the shape of the room, not the storage
Before you choose a drawer runner or a door style, spend twenty minutes with a tape measure and a pencil. Walk the length of each sloped side and note the ceiling height every 300mm or so, marking the point where the slope passes 900mm, 1,200mm and 1,500mm. That band — roughly the first 600 to 900mm out from the wall — is where storage makes sense. Beyond it, you are kneeling and reaching rather than standing.
The pitch decides how much you get. A shallow pitch gives a long, low wedge that suits shallow trays and pull-out baskets. A steep pitch drops to usable height more quickly and produces a deeper, more cupboard-like volume.
Then look at what is already there. Purlins, diagonal braces, the back of a chimney breast, downlights, cables, pipework, a water tank, a heat-recovery duct. These decide where a run of drawers can be continuous and where it must break into separate bays. Sketch a plan of the floor and draw the height contours on it. That sketch will stop you ordering drawers that foul a brace halfway along.
Zone the eaves by how often you will open them
Not all of the slope deserves the same treatment. Think in three bands.
- Front band (knee height up to roughly 900mm): drawers and cupboards with proper doors. Bedding, towels, shoes, board games — anything that comes out weekly.
- Middle band (about 1m to 1.5m of comfortable reach): cupboards and lift-off panels. Suitcases, decorations, spare bedding, out-of-season clothing.
- Back band (the deepest, most awkward wedge): a plain access panel and a clear floor. Cables, junction boxes, the far end of the insulation, and long flat things.
A useful rule: if you have to kneel on the floor to reach it, it should not be something you need on a Tuesday.
Low-level drawers that actually run smoothly
Drawers need a flat, level base, so start with a timber plinth or a stud frame off the floor, then build a plywood carcass onto that. Never screw runners into plasterboard alone — find the studs or rafters and fix into those, typically at 400mm or 600mm centres.
Keep drawer boxes shallow. An internal depth of 150–200mm takes bedding, shoes and paperwork without inviting you to overload it. Width is more useful than depth: a wide, shallow drawer is far easier to see into than a deep narrow one you have to rummage through.
Use full-extension, soft-close runners rated for at least 30kg on anything wide. Cut the drawer front to follow the slope — the box behind can stay square, while the front simply needs a raked top edge. Where the available depth is under about 400mm, swap drawers for pull-out trays on runners or baskets on a simple slide.
Doors, panels and shaped openings
Hinged doors and bifolds
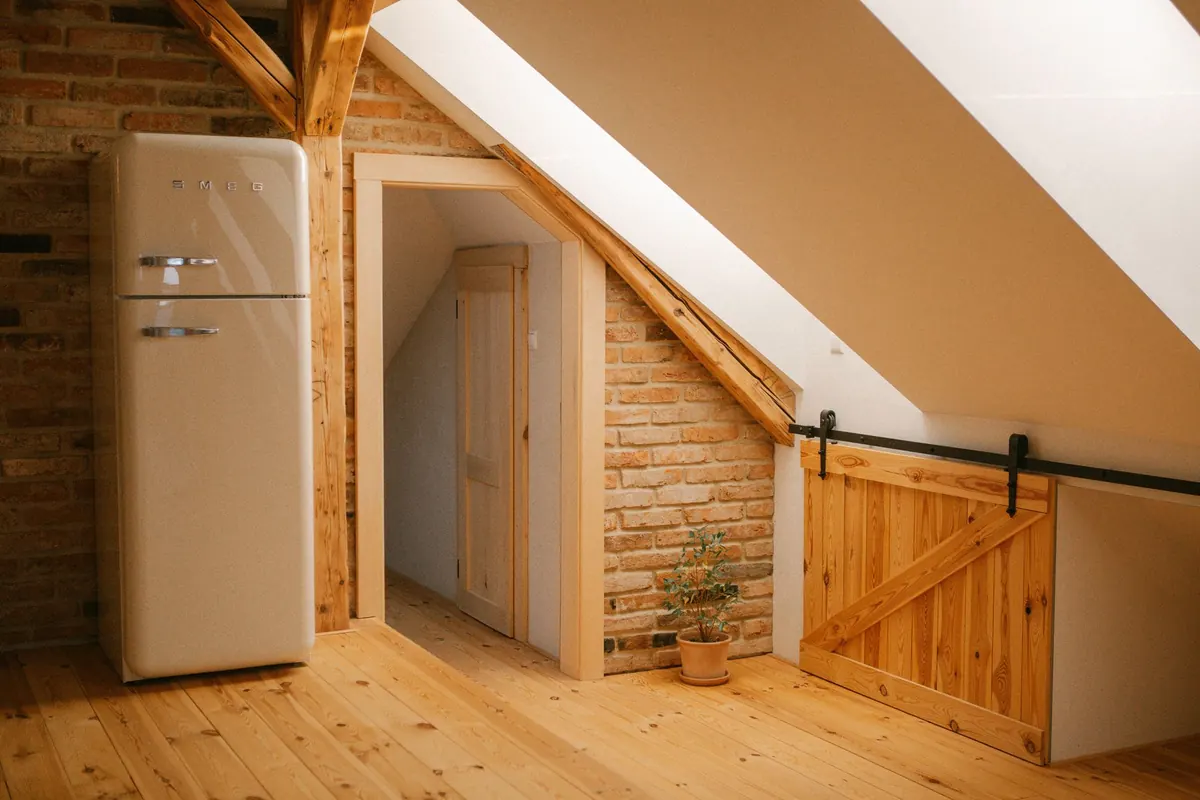
A standard door will not work on a rake, but a door cut to the rake will. Keep the bottom rail straight and level, and shape only the top edge to meet the ceiling line. Hang it on 170-degree hinges so it folds back against the wall instead of protruding into the room. Where there is not enough floor to swing a door, bifolds or a top-hung sliding door earn their extra cost; bottom-rolling sliders are more forgiving of an uneven floor.
Access panels for the awkward wedges
Not every opening needs a door. For deep wedges and service zones, a framed panel with magnetic push-latches is cheaper, neater and less likely to be knocked. Make the opening generous — 500mm square at minimum, larger if a water tank or duct sits behind it. Line the inside of the panel with the same finish as the surrounding wall so it disappears when closed. And do not box in anything you may need to service.
The cold-eaves question
This is the part that catches people out. In many lofts the void behind the knee wall sits outside the thermal envelope: insulation runs along the floor or across the rafters, and everything beyond it is cold. That is fine for a suitcase. It is not fine for photographs, paperwork, instruments, clothes or anything that dislikes damp and temperature swings. If the space smells musty or you can see the roof felt, keep it for plastic boxes and hard goods.
If you want genuinely warm storage, the insulation has to move to the rafter line — a job for a builder, and one that has to preserve roof ventilation. Whichever route you take, do not block the eaves ventilation gap; air must travel from the eaves up behind the insulation. Compressing insulation or stuffing the void with boxes can lead to condensation and damp roof timbers. If you are unsure what sits behind the plasterboard, ask a roofer or your local building control officer to look before you build anything permanent.
Lighting, lining and loading
Do not underestimate lighting. A dark shelf is a shelf you will fill with rubbish. A short LED strip inside the opening, switched with the door or on a motion sensor, turns the eaves into usable space rather than a black hole.
Line the interior with 12mm plywood rather than plasterboard. It takes knocks, accepts a screw anywhere and wipes clean. Paint it white or pale grey to bounce back what little light there is.
On weight: ceiling joists in a loft are designed to carry a ceiling and some insulation, not rows of archive boxes. Set heavy items on the floor, as close to the supporting wall as you can, and keep upper shelves for light things.
A practical order of work
- Measure heights along the slope and record them on a plan.
- Note services, timbers and anything that will need future access.
- Settle the insulation line — warm storage or cold storage.
- Zone the run: drawers at the front, cupboards in the middle, panels at the back.
- Frame and line the space before fitting any fronts.
- Fit lighting, then drawers and doors last.
Done well, eaves storage is almost invisible. You get a room that looks as though it has a simple knee wall, and behind that wall a few hundred litres of quiet, orderly capacity. Get the heights and the insulation line right first, and the rest is straightforward joinery.
Photo: Tama66 / Pixabay